
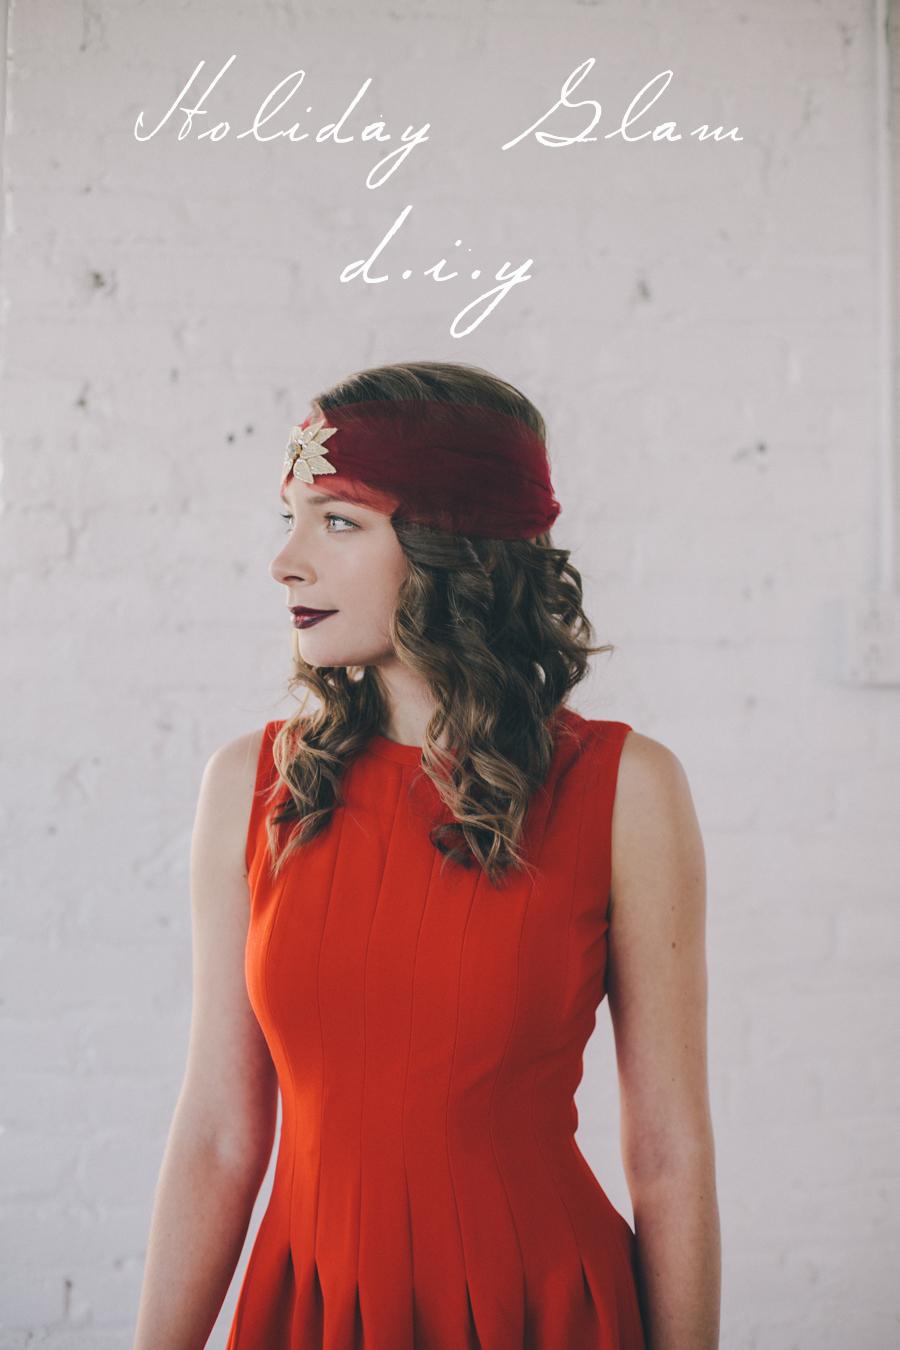
It’s that time of the year! With so many holiday parties coming up, we all want to look our best and feel like we have a fresh new take on the holiday “look”. So, to help you make sure you are Holiday Season ready, hair stylist Stacy from StylesOnB, Nicole from Nicole Sievers Makeup and I put together out talents to bring you a “Holiday Glam DIY”!
Cheers!
- Thea
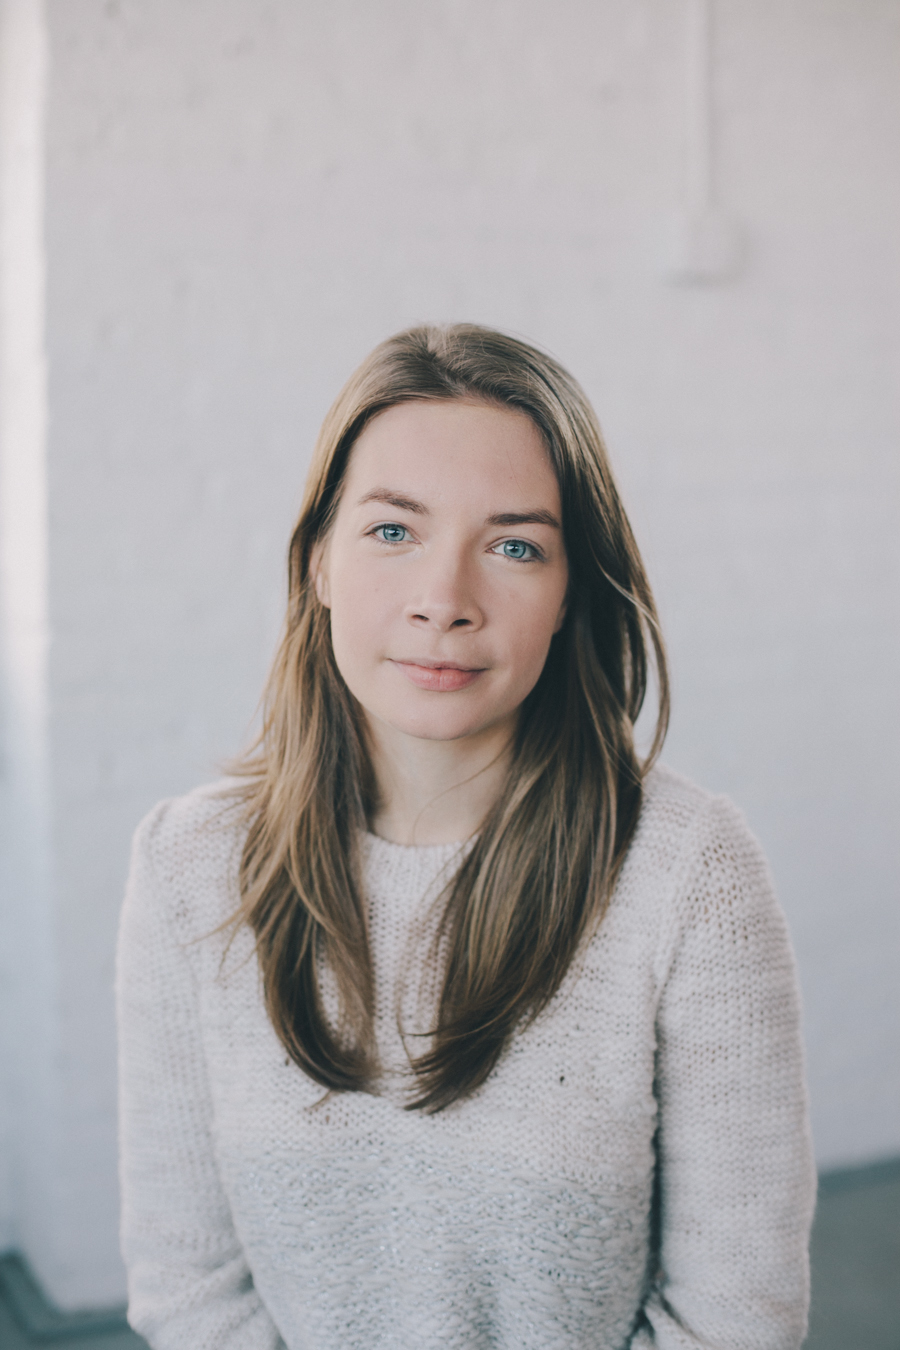
Step 1: Lay down a good base. Starting with a smooth and moisturizing concealer will make the rest of your makeup last longer and your skin have that luminous glow! Soft brush your brows with small, hair like strokes with a soft taupe brow pencil (in this case- Victoria Jackson Taupe Brow Pencil).
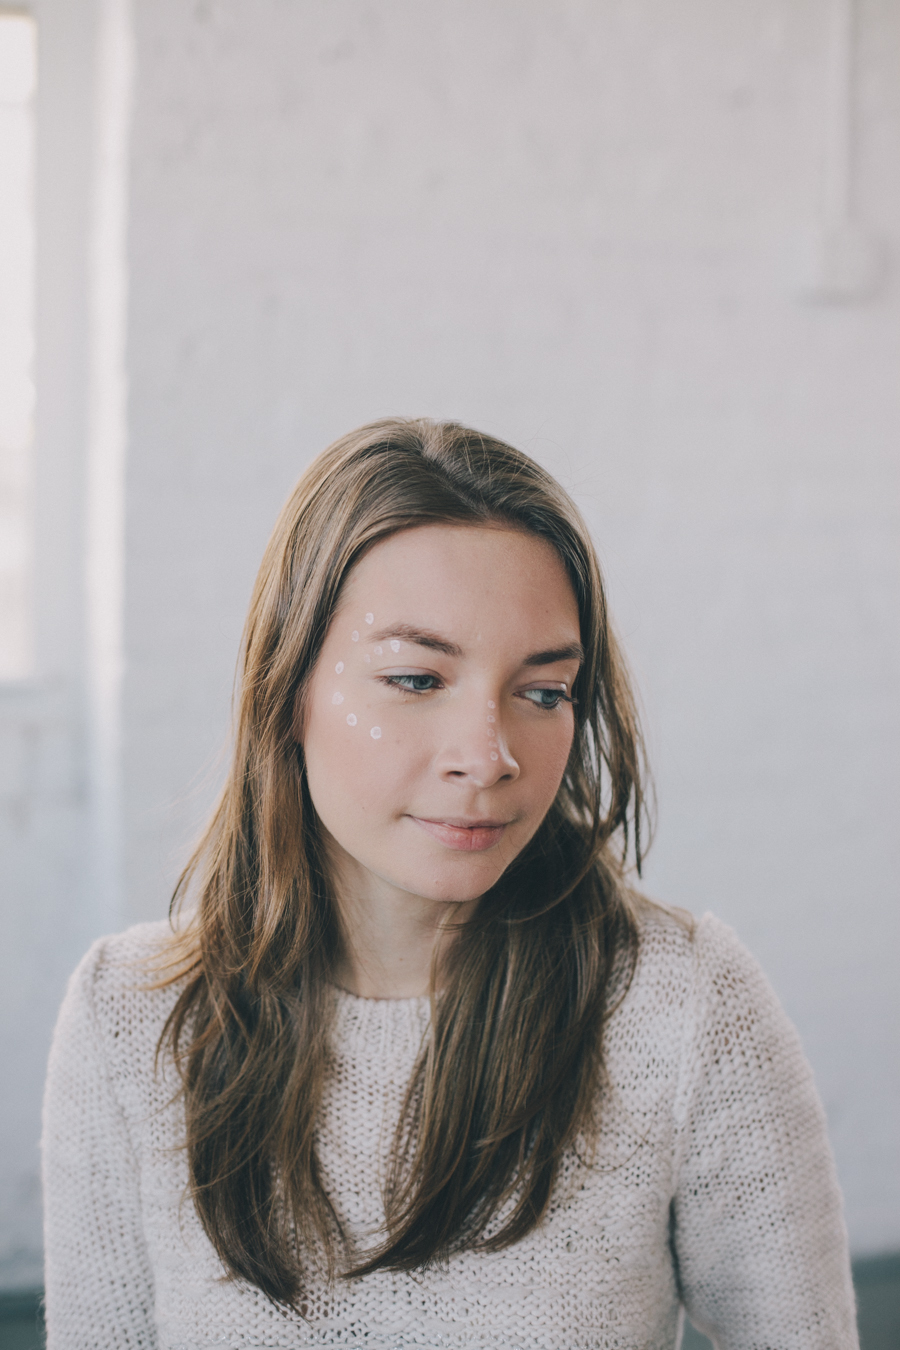
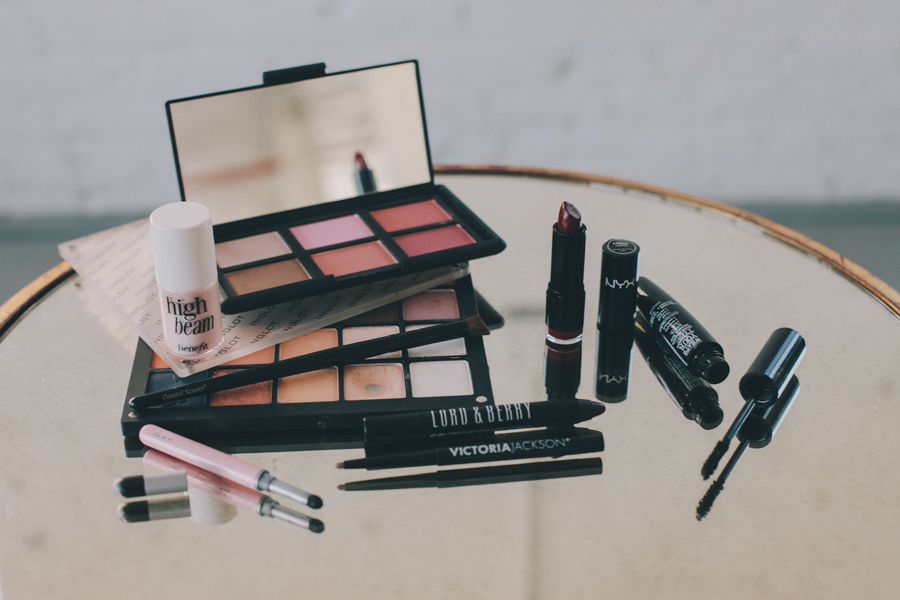
Step 2: Highlight your best features! To accent your cheek bones, begin with a soft pink blush on “your apples” (everybody's favorite NARS Orgasm) and cheek bones. One of Nicole’s favorite products for the holiday season is a good highlighting cream. “High Beam” from Benefit is an easy to find, easy to apply, and beautiful product! Apply down the nose, directly below brows on bone, a dab on the chin, and in a "half moon shape" from the temples down the cheek bone (see photo with the dots), blend it in short down strokes with a face sponge.
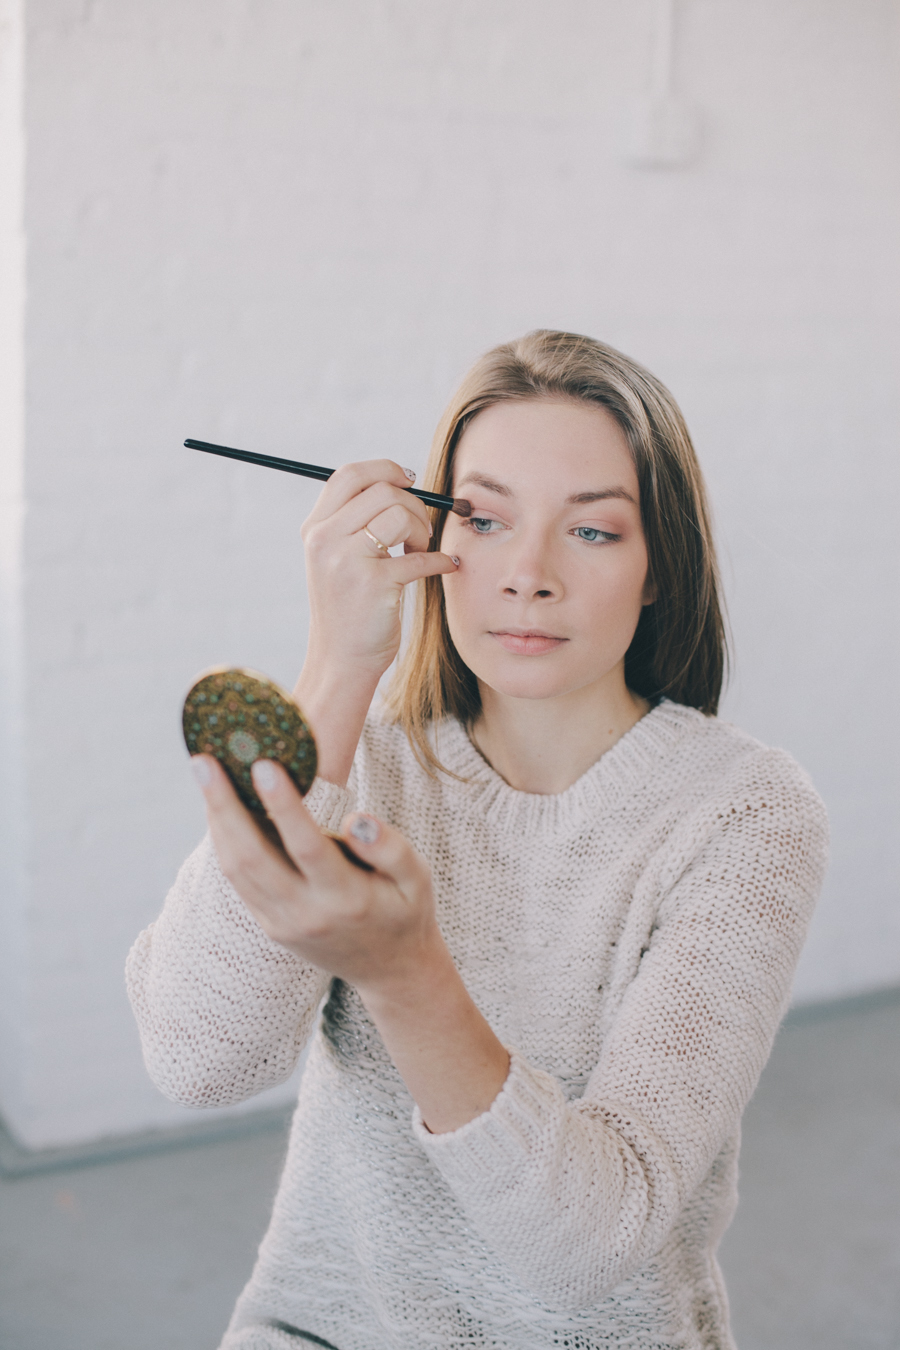
Step 3: Applying your eye makeup. Brush natural nude shadow all over your eyelid (Inglot Pearl #395 – Nicole’s favorite go to all over shadow!). Use a soft muted pink under the eye (in place of dark liner), on lids, and barely onto the crease (see photo with brush and eyes open; Pink shadow from The Balm: Matt Singh from the Meet Matt(e) Nude Pallette).
a. Nicole highly recommends applying your crease/finishing eye makeup with your eye open, it allows you to control exactly what it looks like, and avoids that "uh oh" moment of when you open your eye and realize the shadow has gone all the up the eye to the eyebrow! Use an angled flat top crease brush with the short end up, it gives you the perfect soft blended DIY angle. When going with a red/berry/deep lip most people tend to go right towards an angled wing tip liner, to change that up we went with a thin classic line on the lash line, lightly soft and smudged. (use Tarina Tarantino Magic Hour Smudge Pen- Jet, Lord & Berry Kajal Stick).
b. Next up, eyelash curlers! Yes, old school, but should still be every girls best friend. We curled her lashes and loaded them up with a thickening mascara (The Balm- What's Your Type? Body Builder Mascara).
** To keep lashes from getting thick and spider like - after they are dry - using a clean mascara brush, brush them against your thumb to get instant feathery full lash and brush out any chunks or thick separated lashes.
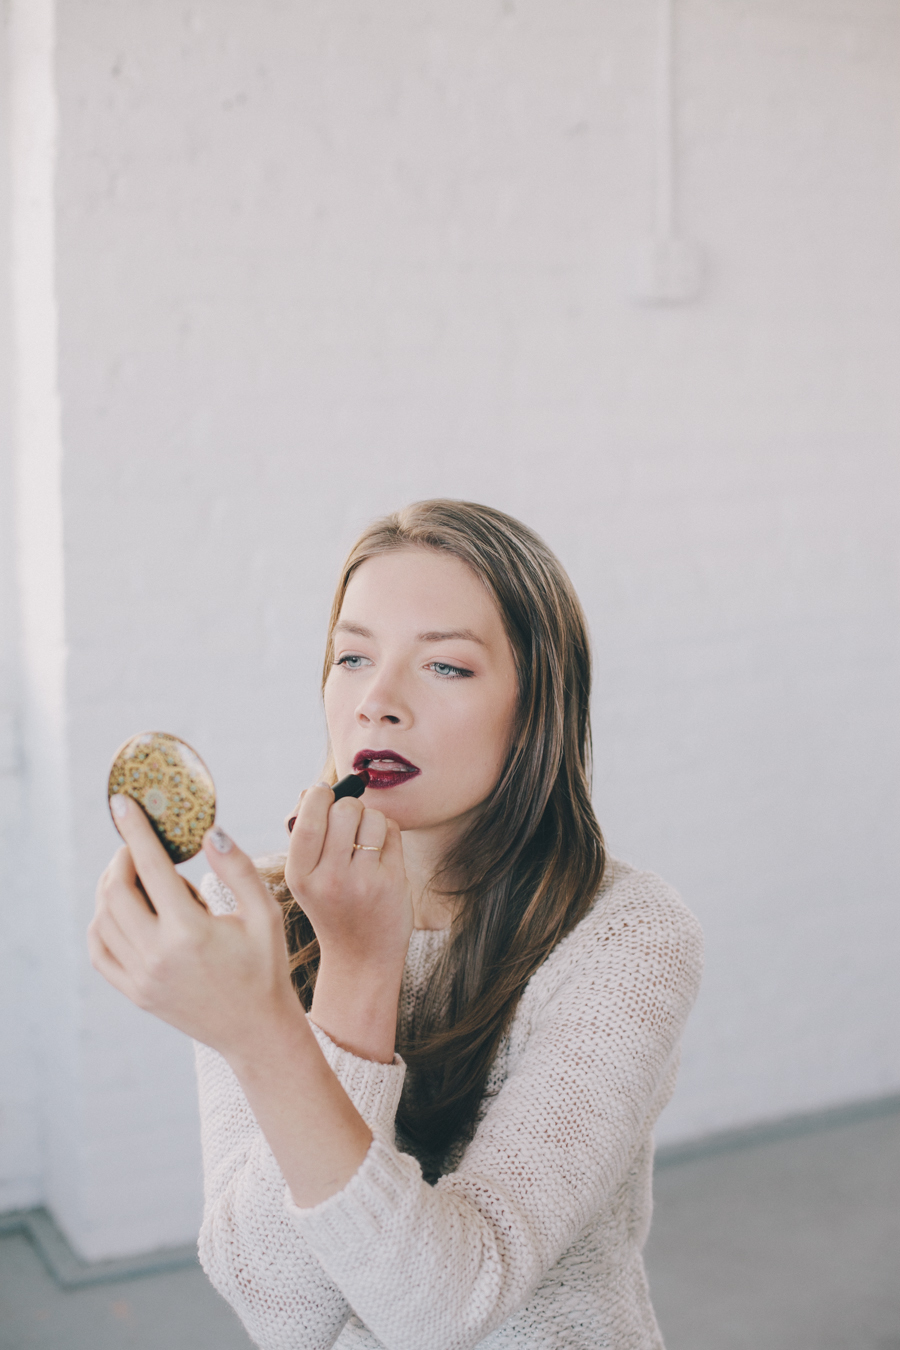

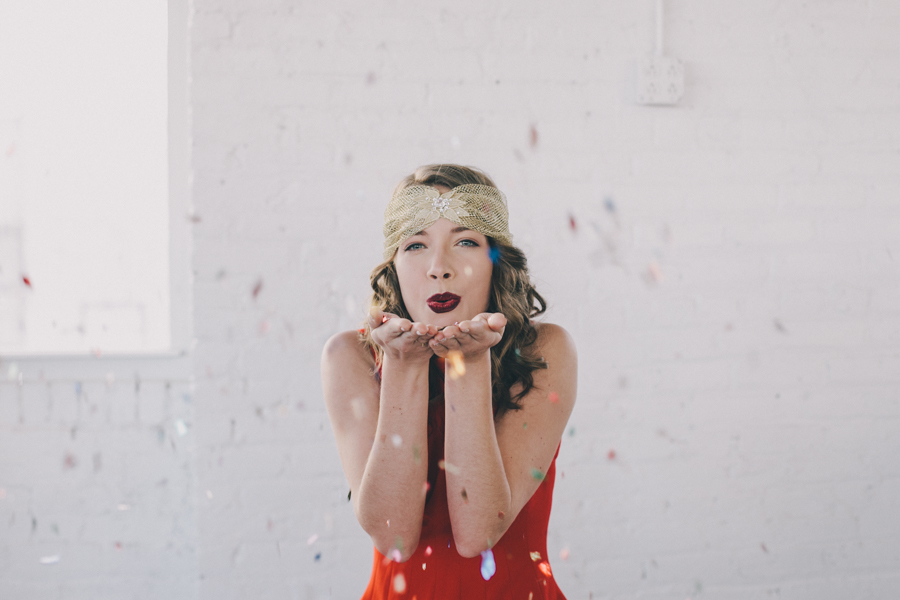
Step 4: A bold lip! Nicole went with a bold wine colored lip instead of the traditional red lip for the holidays. Darker wine colors have been really popular this fall season on the runways. To transition that dramatic look from runway ready to party ready, choose a warm wine color that isn’t too opaque.
a. It’s important to make sure your color is not going to bleed and go past your lip line. To prevent the color from sliding through the creases of the lips, apply a small amount of concealer (that matches your skin tone) around the lip area. Next, apply the lip coloring (Lord & Berry 20100 Lipstick Pencil in Diva) to the entire lip.
b. Lastly (and our favorite trick!), add just a touch of a brighter red lipstick (NYX Matte Lipstick in Perfect Red) to the inside of the bottom & top lip to add the illusion of plumpness and give the look that extra special pop.
Step 1: Start with freshly washed hair, however, Stacy recommends using half the usual amount of conditioner when washing so your hair isn’t too soft, it will hold the curls better this way.
**Pro tip: If you have fine hair, to add texture, use a little Osis “Dust it texture” before beginning. For regular hair, use a salt spray such as Gosh “Salt of mine”
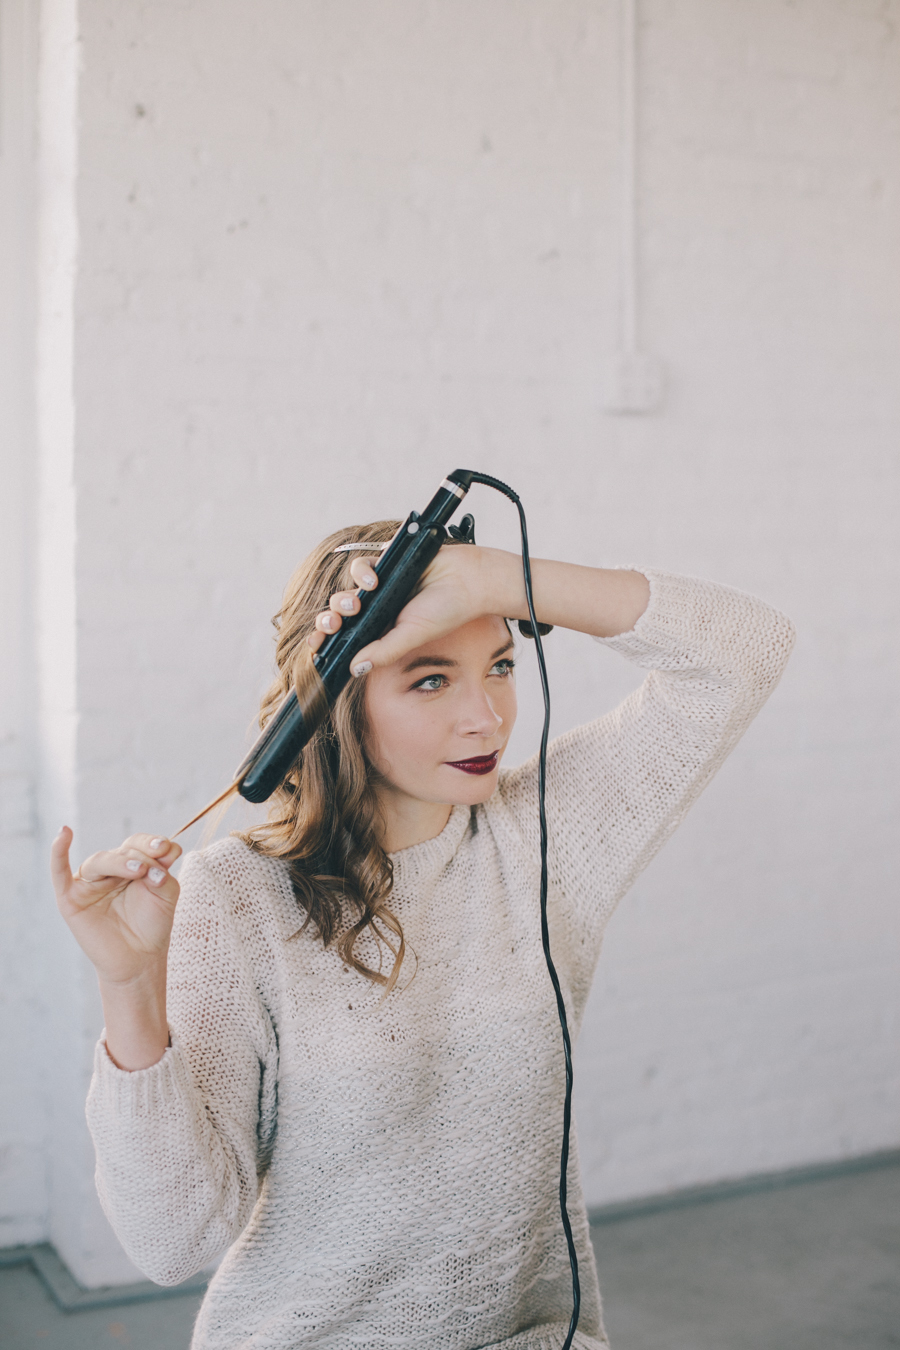
Step 2: Heat up flatiron on high setting to create better curls (when starting, you may want to start on a lower setting so that you have longer to pull the curl out, get a hang of the motion and then turn up the heat).
Step 3: Separate hair into 3 sections, two in front and one in back. Part hair on either side right around the ear line. As you begin to curl each section, use 1 inch think by 1 inch wide pieces to curl in the iron at a time.
Step 4: Loop hair around flat iron once and then pull down section with tension to create curl. Almost like when using a scissor to curl a ribbon, similar tension and motion.
**Pro tip: To reduce static, use a product like Bed Head “Head Rush”.
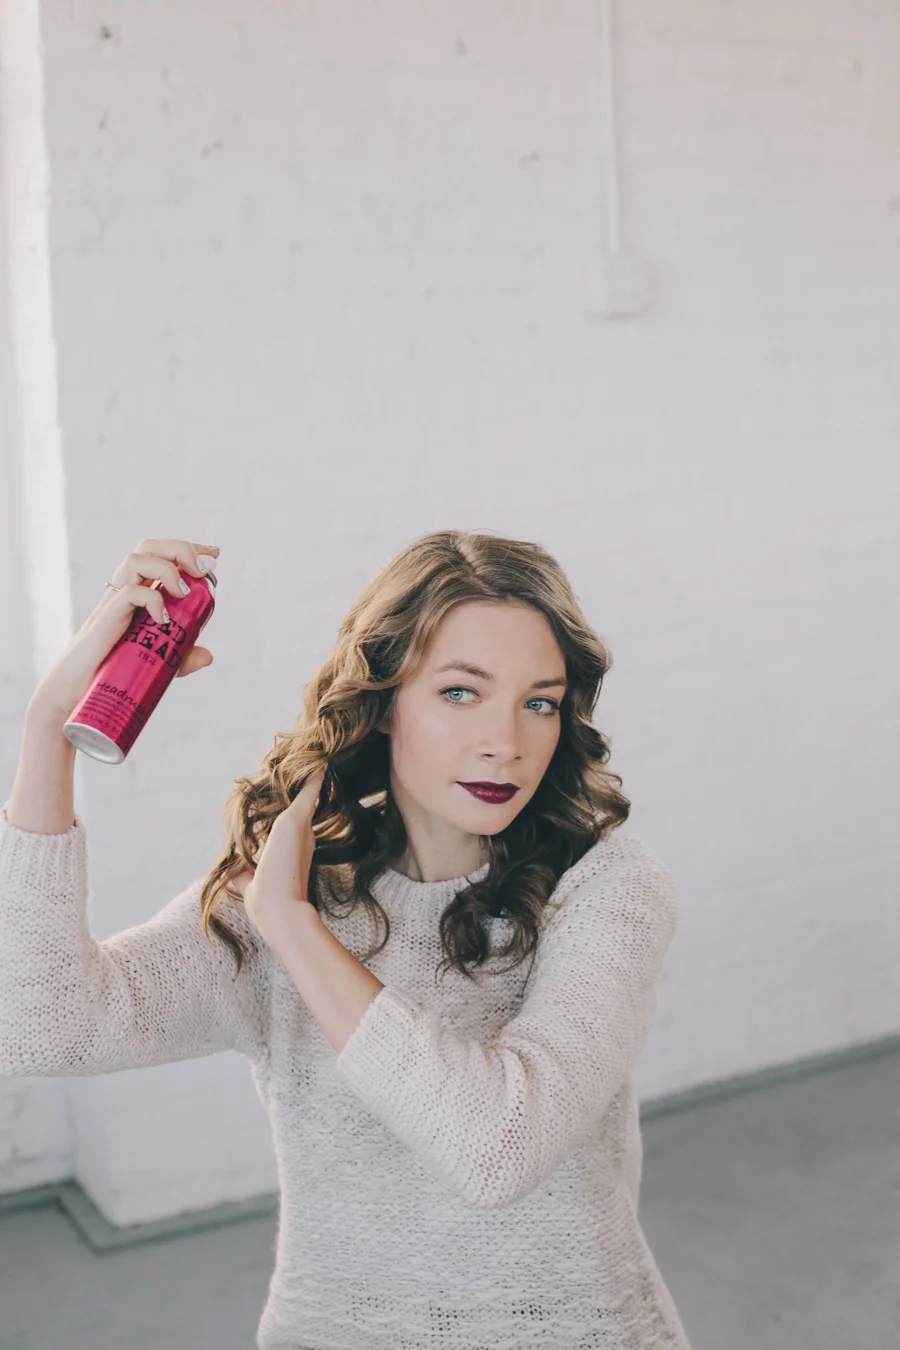
Step 5: Finish off with a light spray of hair spray to hold throughout the night! (Stacy uses Sebastian “Shaper”)
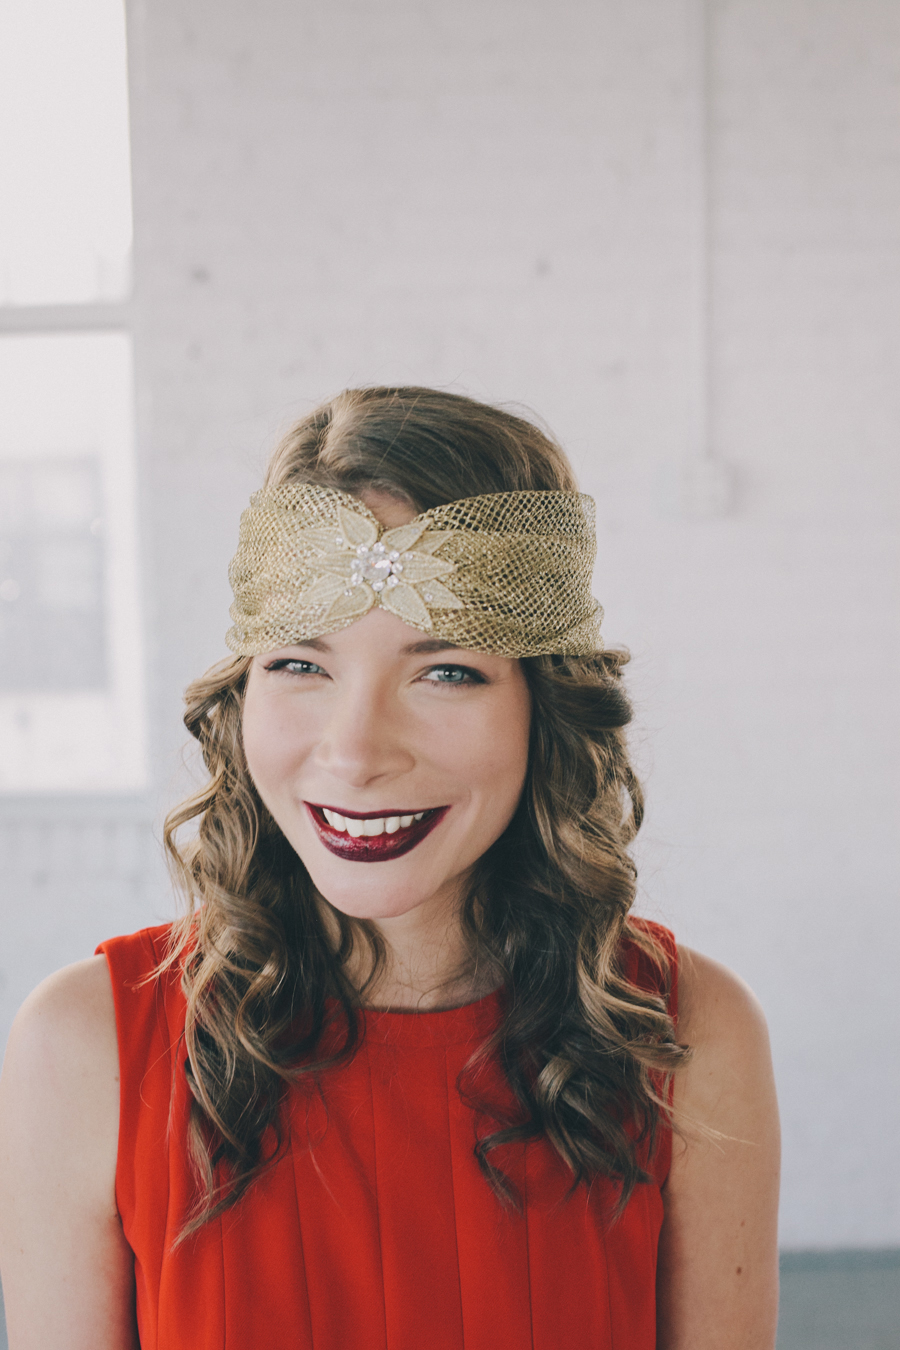
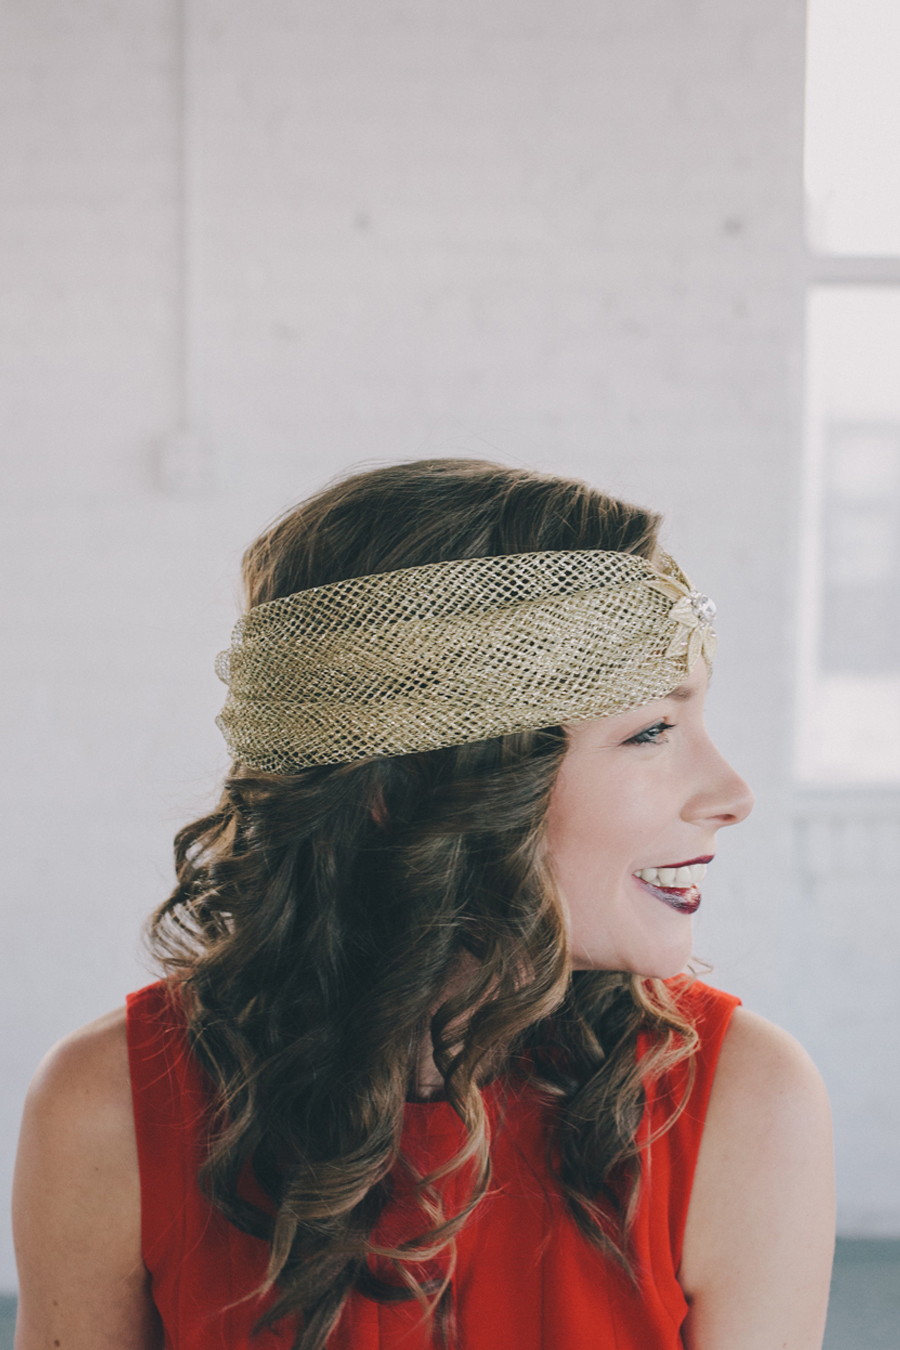
Last step, adorn yourself!
Shown here in our "Rowan" Holiday Headpiece, $89.
(Psst! Don't fret - we have a 3 day turn around on these headpieces!)
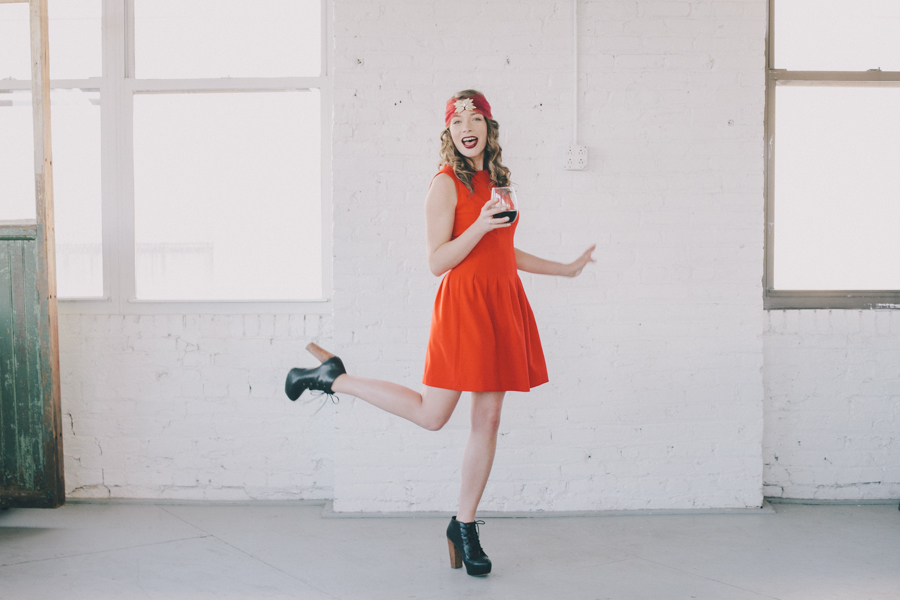
Throw on your best holiday dress, a pair of heels and voila, you are ready to dazzle!
Hair: Stacy Pitt of StylesOnB
Makeup: Nicole Sievers of Nicole SieversMakeup
Headpieces: HushedCommotion
Photography: Amber Gress Photography
Shoot Location: Rent Patina
Outfits: Cream sweater, H&M / Black button up top with lace detail. Prabal Gurung for Target and skinny black pants, Urban Outfitters / Red Dress, H&M